
v15
The Software Users Form allows users to have specific logins to Allpro Insulator and therefore, specific permissions to forms and features within the program. Each user can have specific preferences and permissions that tailor and guide their experience based on their specific needs. Keep in mind, estimators will also need to be set up with Sales Rep in addition to a Software User before they will be ready to start estimating. For QuickBooks edition users, this will also mean creating a matching sales rep entry in QuickBooks.
Once a User is being created, the entire process must be completed, the User Wizard will not let the form be closed, unless the entire process is completed. If the user creation is started by accident, complete the wizard and simply delete the user. This ensures that no partially-setup users exist in the system, causing errors.
Directions for creating a new user are included below, and the process for editing users follows a near identical flow. Because there are over 200 permissions and upwards of 70 preferences, details on these topics have been broken into their own help pages. Click the links below to go directly to the desired help page, or you can scroll down and keep reading to learn about creating Software Users.
Initially, setting preferences and permissions can require a lot of configuration, but it won’t be required for each user. Once the permissions for one user are set, they can be applied to other users and modified if needed, removing the need to go through the entire process each time a user is added.
| Permission Details | Preference Details |

Software Users are managed through the User Wizard. It’s used to create new user credentials, as wells as set or manage existing Software Users
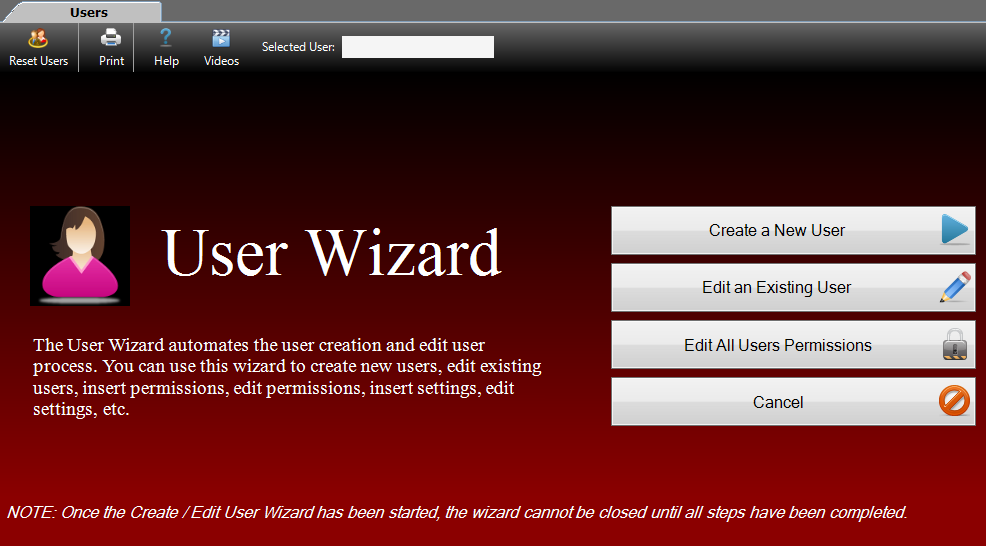
Edit an Existing User and Edit All Existing Users allow you to make changes to one or all existing users, respectively. Use care when making selections on this screen, particularly when selecting Edit All Users Permissions.
Editing users follows the same flow as Create a New User, with the exception that you will not have the opportunity to configure Employee and Sales Reps entries. For this reason, it will not be covered as a separate process. Users should consult the appropriate section of the instructions for Create a New User, or the Permission Details and Preference Details as appropriate.
Setting Up New Software Users
Each person logging int to Allpro Insulator should have their own user, regardless of how much or how little they use the software. This helps prevent issue with records in the database, ensure log data can be used to assign accountability, and allows admins to tailor each user’s access to forms and features in the program. We’ll cover how to create and configure a new user, with the option of adding them to the Employees form and creating a Sales Rep for use in Estimating.
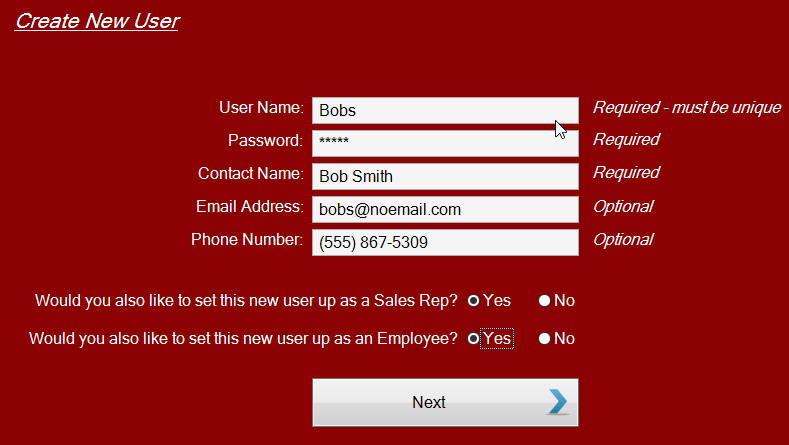
User Name: – Enter the name you would like the new user to select when logging in to the software. This name will not appear on estimate or other paperwork and is only used to log in to the software. Examples might include Bob, bob, or BobS for Bob Smith
Password – Enter a password for the login you would like to create. This password is only used to log in to the software and can be modified at a later time. Example: b0b1234A.
Contact Name – Enter the full name of the person for whom you are creating a user. Continuing our example, this might be Bob Smith
Email Address – The email contact information for the software user. This email address will not appear on external paperwork (quote, invoices, etc.), but maybe be used for Allpro Alerts email communications.
Phone Number – The direct phone number for the software user. This number will not appear on external paperwork (quote, invoices, etc.), but may be used for Allpro Alerts SMS text notifications.
Would you also like to set this new user us as a Sales Rep? – Determines whether the user will also be added as a Sales Rep on the Sales Reps form. Selecting Yes adds the user as a Sales Rep and allows you to configure the entry as part of the Create New User wizard. This removes the need re-enter the same information on multiple forms. Selecting No will not add the user as a Sales Rep, though they can still be added manually later. A selection must be made before proceeding.
Would you also like to set this new user up as an Employee? – Determines whether the user will be added as an Employee on the Employees form. Selecting Yes adds the user as an Employee on the Employees form and allows you to configure it as part of the Create New User wizard. This removes the need re-enter the same information on multiple forms. Selecting No will not add the user as an Employee, though they can still be added manually later. A selection must be made before proceeding.
Once done entering information and making selections click the Next button. If setting the new user will not be set up as a Sales Rep or Employee, you will be taken directly to Insert Permission from Another User. Otherwise, you will be taken to the Sales Rep and/or Employees form to configure the user’s entries there before configuring User Permissions.,
New User’s Sales Rep
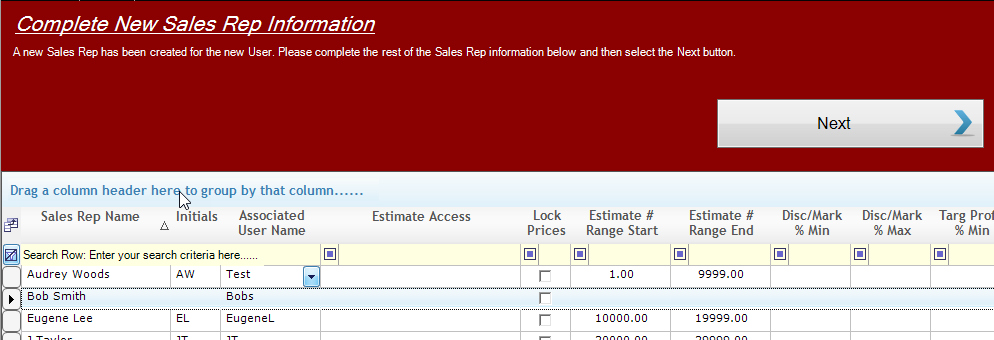
If yes was selected for, “Would you like to set this new user up as a Sales Rep?”, you will be taken to a version of the Sales Reps form to complete the Sales Rep information and setup. Sales Rep’s Name and Phone Number will be filled in for you, but you will need to specify Estimate number ranges and other settings.
For help with Sales Reps, click here.
New User’s Employee
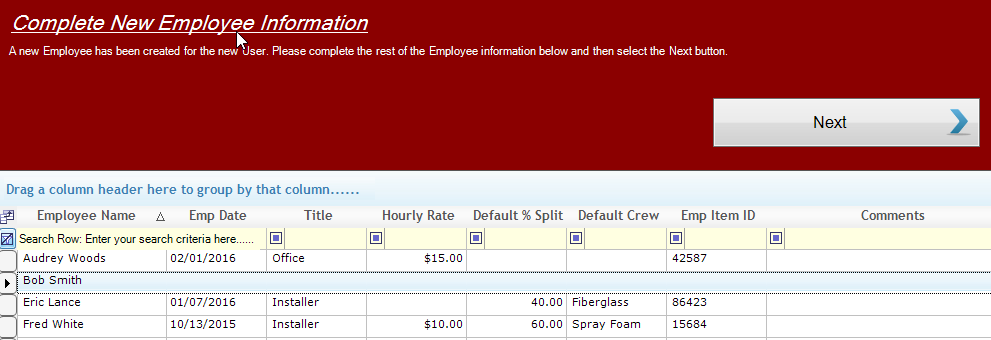
If yes was selected for, “Would you like to set this new user up as an Employee?”, you will be taken to a version of the Employees form. to complete any additional information. The employee’s name and phone number will be filled in for you, but you will need to enter any additional information.
For help with Employees, click here.
Insert User Permissions
Insert Permissions from Another User allows you to assign the permissions of an existing Software User to the new Software User. This can remove the need to review each of the 200+ permissions for each software user. You will need to select an existing Software User to base permissions on before proceeding, though there will be an opportunity to review and modify the permissions during the next step.
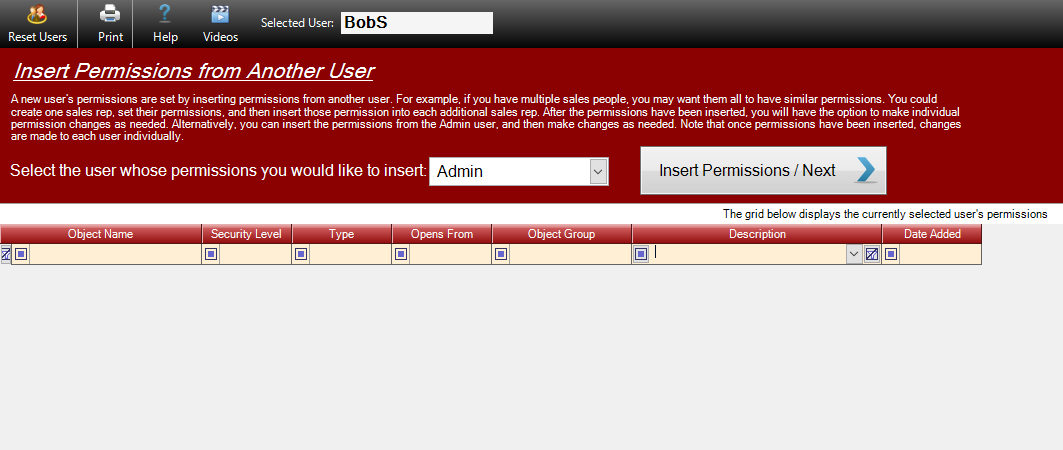
Once you have selected the user that you would like to insert permissions from click the Insert Permissions / Next button to navigate to the Edit Permissions screen, On this screen, you can make any necessary modifications to the permissions you inserted.
Edit Current User’s Permissions
The Edit Current User’s Permissions step presents you with a list of each permission’s current setting and allows extremely granular control over what the user will have access to in Allpro Insulator. Whether to prevent snooping, avoid undesirable changes, or just eliminate access a user doesn’t need, there’s likely a permission for it.

Permissions can be set to one of three levels: Read/Write, Read Only, and No Access.
- Read/Write – Granting a User Read/Write permissions gives them full access to whatever that permission applies to.
- Read Only – Granting a User Read Only permissions will allow the login to be able to view but not make any changes to whatever that permission applies to.
- No Access – Granting a User No Access permissions will not allow them to view or make any changes to whatever that permission applies to.
When setting up or modifying permissions for the first time, we strongly recommend reviewing each permission, its description, and Security Level setting carefully.
Not all three will be relevant for every permission. Take Delete Estimates for instance, there are only two real options for this permission: the user can delete estimates, or the user cannot. In such cases, only users With Read/Write access will be able to perform the action. Selecting either Read Only or No Access will mean the user does not have that permission, but it’s still recommended No Access be used to deny the permission. Using No Access avoids confusion by making it clear the user does not have permission.
User Permissions are sorted alphanumerically by the “Opens From” field, which indicates the form to which the permission applies. They can be re-sorted alphanumerically by any one of the columns by simply clicking the Field Name in the title bar. Clicking it a second time will reverse the sort order. The filter row at the top of the permissions grid can also be used to search for a desired permission. For a complete, detailed list of user permissions can be accessed from the “Details” buttons in the Permissions grid or by clicking here.
Once you have completed editing the new user’s permissions, click the ‘Next’ button to configure the user’s Preferences
Insert Settings/Preferences/Messages
Like User Permissions, you will start by selecting an existing Software User’s Preferences to base the new Software User’s Preferences on. User Preferences include information about the software user, various default preferences, user interface options, email templates, email settings, and PDF attachments for the user. While not as numerous as permissions, there are over 70 Preferences.
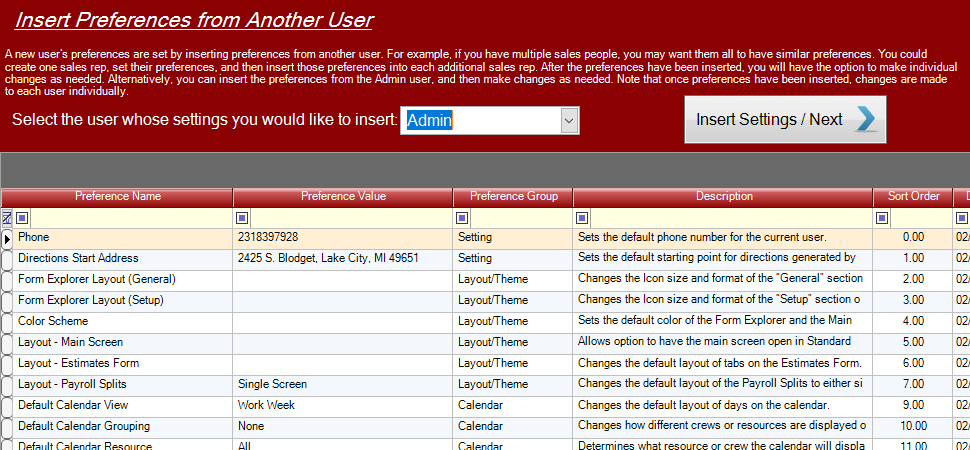
Once you have selected the user to insert preferences from click Insert Settings/Next button.
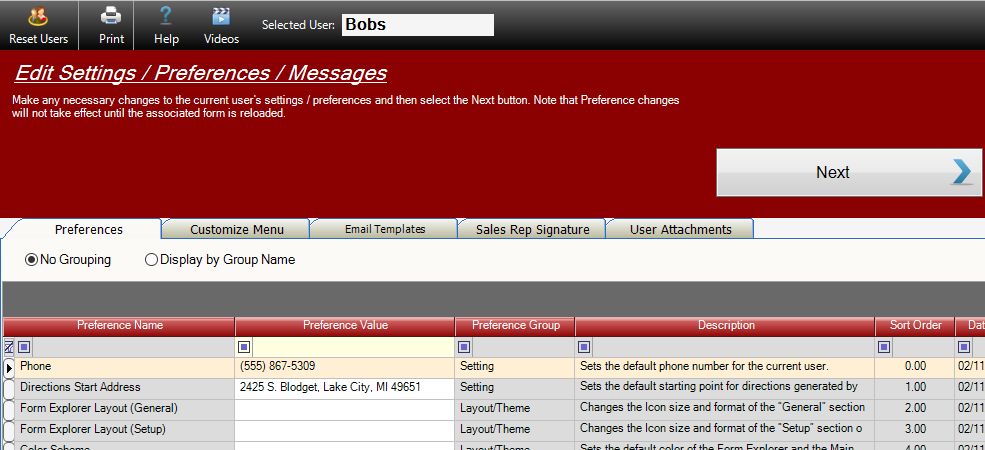
Edit User Preferences/Messages
The Edit User Preferences step allows you to tailor the information and settings stored in Preferences for the for the new Software User, enter default email messages, import an image to use as a signature, and configure user attachments for the software user you are creating.
The Preferences form has 5 tabs: Preferences, Customize Menu, Email Templates, Sales Reps Signature, and User Attachments. Fulle details on User Preferences/Settings can be found at the User Preferences help page or you can select from the links below sorted by tab.
User Preference Tab
Once you’ve completed configuring the User’s Preferences, click Next., then Finished on the following screen to close the Software Users form.
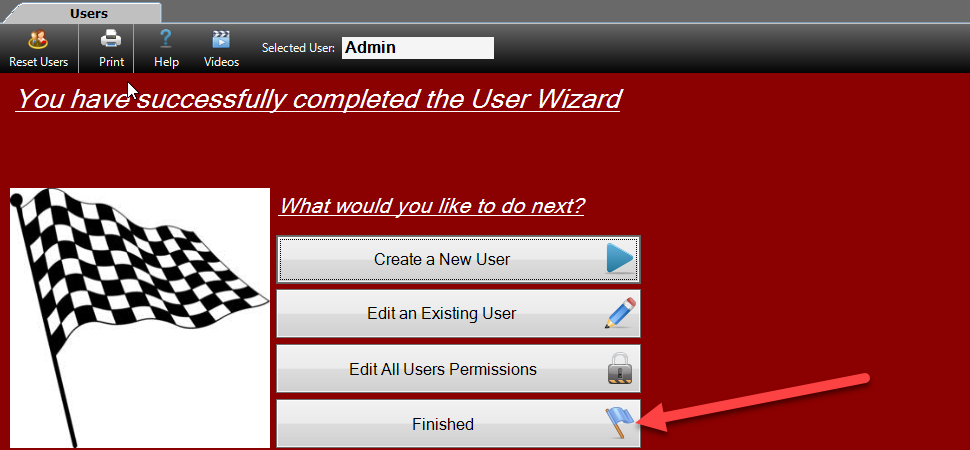
You have now successfully created your new user, you now have a few options.
- Create a New User – This allows you to create another user once again.
- Edit an Existing User – This allows you to edit any user already created successfully.
- Edit All Users Permissions – USE WITH CARE – Allows changes to be made to all software users simultaneously.
- Finished – This allows you to close the form and save all records that you have created.
NOTE: After you install any Allpro Insulator upgrades you may have to update the user permissions before you can use new features or functions. As new forms and reports are added to the program, new permissions will be added to the Permissions grid. The software administrator will have to make sure they review the permissions grid after installing any upgrades to ensure each user has the proper permissions.